
Most USB-C rechargeable flashlights take 1 to 4 hours to charge from empty. A small 1,000 mAh light can finish in about an hour, while a large 5,000 mAh light can need 5 to 7 hours on a standard 5W charger. The exact time depends on battery capacity, the light’s built-in charge current, and the charger you use.
- Most USB-C flashlights charge in 1–4 hours; big-battery lights can take 5–7 hours on a standard 5W charger.
- Charging time follows a simple formula: battery capacity (mAh) ÷ charge current (mA), plus extra time for the slow final stretch.
- A bigger-wattage charger does not charge faster than the light’s own internal limit allows.
- Red usually means charging and green usually means full — but there is no universal standard, so check your light’s manual.
- Unplug once the indicator shows full; store a light you won’t use at roughly half charge and top it up every few months.
How Lithium-Ion Charging Actually Works
A rechargeable flashlight battery is a lithium-ion cell, and it charges in two stages. Knowing the two stages explains almost everything people find confusing about charge times and indicator lights.
Stage 1: constant current. The charger pushes a steady current into the battery while its voltage climbs. This is the fast part, and it fills roughly the first 70–80% of the battery.
Stage 2: constant voltage. Once the cell reaches 4.2 volts, the charger holds the voltage steady and lets the current taper down gradually. This finishes the last 20–30% of the charge, and it is deliberately slow — pushing full current into a nearly full lithium-ion cell would damage it. That is why a light can reach 80% in an hour and still need another hour to reach 100%.
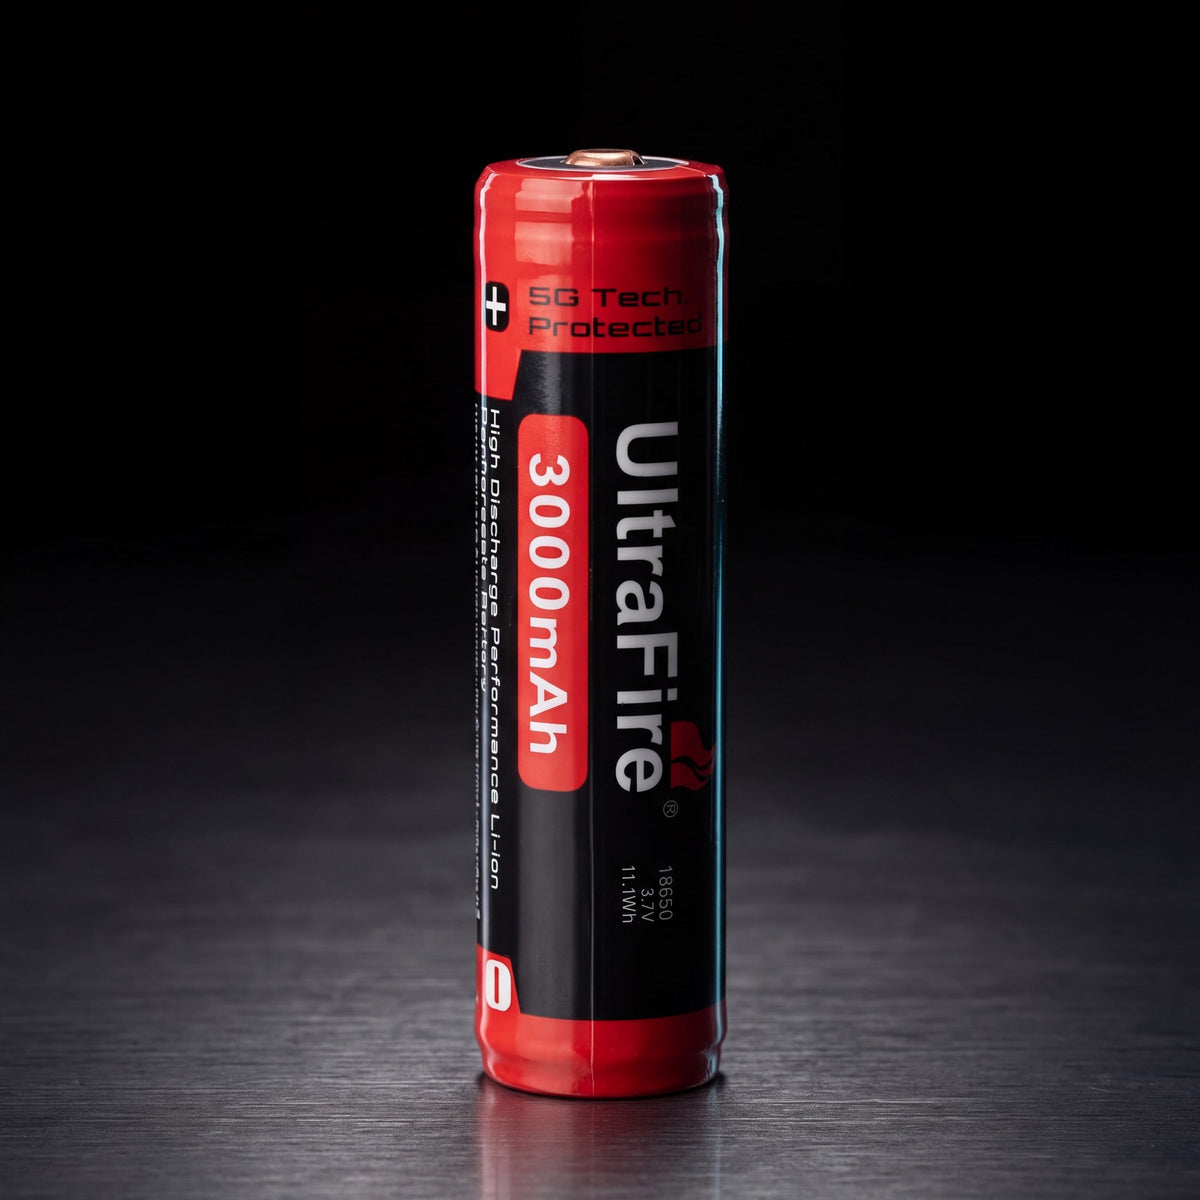
Two terms show up in every charging discussion. Capacity, measured in milliamp-hours (mAh), is how much charge the battery holds — a 3,000 mAh battery holds three times the charge of a 1,000 mAh one. Charge current, measured in amps (A) or milliamps (mA), is how fast charge flows in. A common 5W USB charger delivers 5 volts at 1 amp (5V / 1A), which is 1,000 mA of current.
The Formula: How to Estimate Any Flashlight’s Charge Time
Charge time follows one simple relationship:
Time (hours) ≈ Battery capacity (mAh) ÷ Charge current (mA)
Worked example: a 3,000 mAh battery charged at 1,000 mA (a standard 5V / 1A charger) takes 3,000 ÷ 1,000 = 3 hours in theory. In practice it takes 3–4 hours, because charging is not 100% efficient — some energy becomes heat — and the constant-voltage stage slows the finish. The same battery on a 2,000 mA (10W) source would take about 1.5–2 hours.
Here are typical charge times for common battery sizes, drawn from published charging guides. Treat them as ranges, not lab measurements of a specific model:
| Battery capacity | Standard 5W charger (5V / 1A) | Faster charger (10W+, 5V / 2A) |
|---|---|---|
| 1,000 mAh (small keychain lights) | About 1–1.5 hours | About 45 minutes–1 hour |
| 2,000 mAh (compact EDC lights) | About 2–3 hours | About 1–1.5 hours |
| 3,000 mAh (18650-powered lights) | About 3–4 hours | About 1.5–2 hours |
| 5,000 mAh or more (large searchlights) | About 5–7 hours | About 2.5–3 hours |
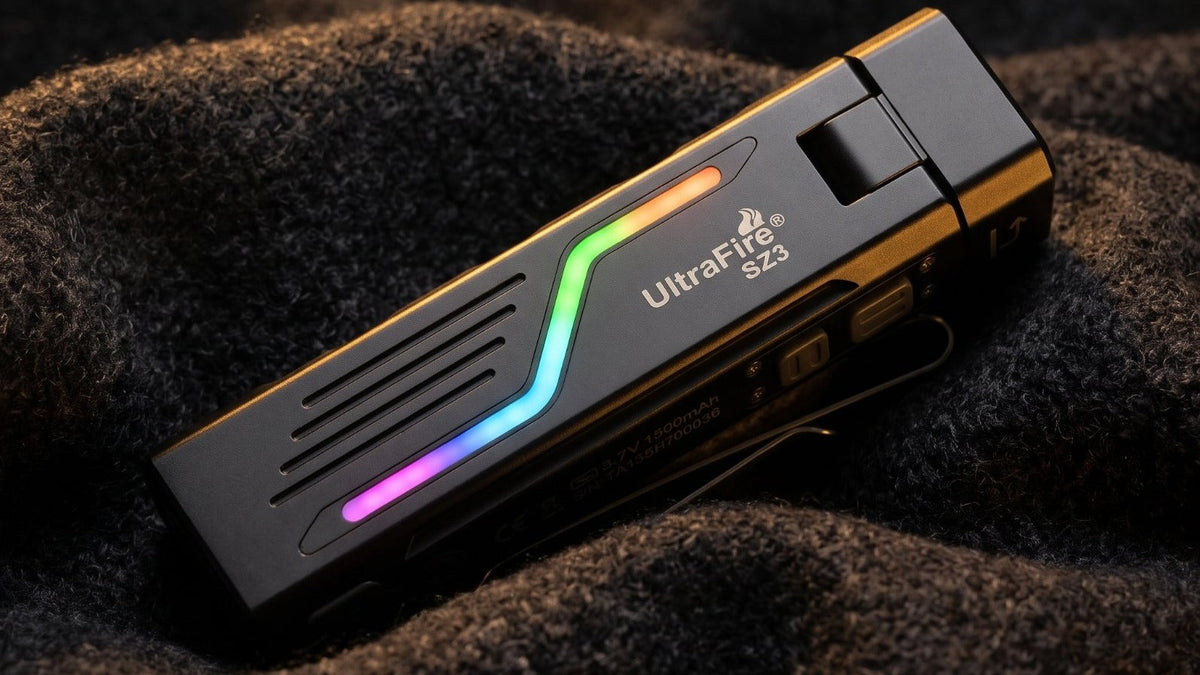
For a concrete sense of scale: the UltraFire SZ3 carries a 1,500 mAh built-in battery, which sits between the 1,000 and 2,000 mAh rows above — so expect roughly 1.5–2.5 hours from a standard 5W source. That is an estimate from the table, not a factory charging spec.
What the Charging Indicator Lights Mean
Most flashlights signal charging status with a small LED near the charging port or the switch. The patterns below cover the great majority of lights, but there is no industry-wide standard — the same color can mean different things on different models, so your light’s manual is the final word.
| What you see | What it usually means |
|---|---|
| Red light, solid, while plugged in | Charging in progress. This is the most common pattern across brands. |
| Green light, solid | Fully charged (or on standby). The usual “done” signal. |
| Pulsing or breathing light | Still charging. Some models pulse while charging and go solid when full. |
| Green / amber / red battery gauge | Battery level, not charging state: green roughly 50–100%, amber roughly 10–50%, red below 10%. Some lights use this three-color gauge both for remaining charge and during charging. |
| Flashing red, or red/green flashing | A problem: the battery may be too hot, too cold, wet, faulty, or the charger may not match. Unplug, let the light return to room temperature, check the port and cable, and try again. If it keeps flashing, stop and check the manual. |
Two common mix-ups are worth clearing up. First, a charging indicator and a battery-level indicator are different things, even when they share the same LED — one answers “is it done charging?” and the other answers “how much charge is left?”. Second, a light that turns on while plugged in is not proof that it is charging, or that it is safe to run that way. The sections below cover both points.
What Makes Charging Faster or Slower
Four factors decide how long a given charge takes:
- Battery capacity. The biggest factor, and the one in the formula above. Double the mAh, roughly double the time at the same current.
- The light’s own charge-current limit. The charging circuit inside the flashlight caps the current it accepts. A 65W phone charger will not make a light designed for 5V / 1A charge any faster — the light simply draws what it was built to draw.
- Charger and cable. A damaged cable, a low-power laptop USB port (often 0.5A), or a worn-out adapter all slow charging. USB-C is a connector shape, not a speed promise: a USB-C port can deliver 5W or 100W, and the light and charger negotiate the lower of the two.
- Temperature. Lithium-ion chemistry charges best near room temperature. Cold slows it down, and a battery that is hot to the touch is a reason to unplug and let it cool. A light that feels warm while charging is normal; one that feels hot is not.
How to Charge a Rechargeable Flashlight: 5 Steps
- 1. Use the included cable, or a known-good USB-C cable. Cheap or damaged cables are the most common cause of slow or failed charging.
- 2. Plug into a 5V USB source. A wall adapter, a power bank, or a computer USB port all work. Any standard 5V source is fine; you do not need a high-wattage fast charger.
- 3. Check the indicator. Confirm the light shows it is charging — usually a red or pulsing light. No indicator at all means the cable, the port, or the power source is the problem, not the battery.
- 4. Wait for the full signal, then unplug. Don’t rely on the clock alone; the indicator is the real completion signal. Modern lights have overcharge protection, but unplugging once full is still better for long-term battery health.
- 5. Store it partly charged. If the light will sit unused, leave it at roughly 40–50% charge and top it up every few months. Lithium-ion cells slowly self-discharge, and a battery left empty for a long time may not recover.
Built-In Battery vs. Removable Battery: Charging Differences
USB-C flashlights come in two designs, and the charging routine is slightly different for each. A light with a built-in battery, like the SZ3, charges only through its USB-C port — and the SZ3 can keep running on its low modes while it charges, which is handy if you need light at a workbench while it tops up. A light with a removable battery, like the RUV3’s 21700 cell, also charges through its USB-C port, and the battery can additionally be charged in a separate external charger if you own one. If your light uses a removable cell, it is worth knowing the difference between the common battery sizes — see our guide to 18650 vs. 21700 vs. 18350 batteries — and whether your cell has a protection circuit, covered in protected vs. unprotected batteries explained.
Frequently Asked Questions
How do I know when my flashlight is fully charged?
Watch the indicator, not the clock. On most lights the charging LED turns from red to solid green when the battery is full; on lights with a battery gauge, all segments or bars light up. Charging time alone is not reliable, because the same light charges at different speeds from different chargers. If your light has no indicator at all, check the manual — a few models expect you to judge by time.
What does a red light mean when my flashlight is charging?
A solid red light almost always means “charging in progress” — it is the most common pattern in the industry. A flashing red light is different: it usually signals a fault, such as a battery that is too hot, too cold, or faulty, or a charger that doesn’t match. Unplug, let the light cool to room temperature, inspect the port and cable for dirt or damage, and try a different charger. If the flashing continues, follow the manual rather than forcing another charge.
Can I use my flashlight while it is charging?
Only if the manufacturer says so for your exact model. Running the light while it charges adds heat and draws current away from the battery, which can slow charging to a crawl or stop it entirely — and on some lights it is not supported at all. The SZ3 is one of the models that does support it, on its low modes. Never assume turbo or high mode works while plugged in, and never treat “it turns on while plugged in” as proof that the setup is supported.
Can I leave my flashlight charging overnight?
Modern rechargeable lights have overcharge protection, so an occasional overnight charge is generally fine. Still, unplugging once the indicator shows full is better for long-term battery health, and it is good practice to charge on a non-flammable surface where you can notice if anything gets unusually hot. Don’t charge inside a closed bag or a hot car.
Can I charge my flashlight with a phone charger or a power bank?
Yes, if it is a standard 5V USB source and you use a good cable. A higher-wattage phone charger will not charge the light faster than the light’s own internal limit, so a basic 5V adapter is all you need. A power bank works the same way, with one quirk: some power banks switch themselves off when the current draw gets very low, which can stop charging a nearly full light early. If charging stops before the indicator shows full, try a wall adapter instead.
Two UltraFire Lights That Charge Over USB-C

UltraFire SZ3 Swivel Head EDC Flashlight | 1300LM CRI90+
The everyday light for this guide: a built-in 1,500 mAh battery that charges over USB-C, and it keeps working on low modes while it charges — useful at a workbench or during a power outage.
- 1,300 lumens, high-CRI 90+ for true colors
- 0–100° swivel head with spot + flood dual beams
- 1,500 mAh built-in battery, USB-C charging (works while charging on low)
- Magnetic tail for hands-free mounting
- IPX6 waterproof, 1-meter drop resistance, 3-year warranty

UltraFire RUV3 365nm UV Flashlight | 10W ZWB2 Filter
A 365nm UV light with a removable 21700 battery: charge it in the light over USB-C, or take the cell out and charge it separately. The same charging rules in this guide apply.
- 365nm UV with ZWB2 filter for a clean beam
- 10W output
- USB-C rechargeable, removable 21700 battery
Final Thoughts
Charging a flashlight is simple once you know the two things that decide the time: how much charge the battery holds, and how fast the light lets charge in. The formula — capacity divided by current — gives a good estimate for any light, and the indicator, not the clock, tells you when it is done. Keep a decent cable, use any standard 5V source, and unplug when the light says it is full. The rest is just remembering to top up before you need it.