
1) Hold a Charge — Even After Months in Storage
Why it matters:
A flashlight that’s been sitting in your emergency kit for six months should still turn on. Too many people open their kit during an outage and find a dead light — not helpful when you’re already stressed.
What to look for:
-
Low self-discharge batteries or protected cells that prevent damage from over-discharge.
-
A flashlight or battery with a standby-friendly electronics design (lockout mode, very low quiescent current).
-
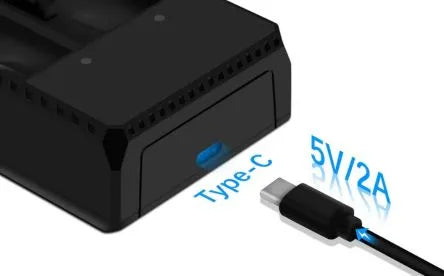
Onboard charging (USB-C) so it’s easy to top up before a storm.
Practical tip: Store lithium cells at ~40–60% charge and check/top-up every 3–6 months. If your light has a lock mode, use it — that cuts down on accidental drains.
How UltraFire helps:
UltraFire’s protected 18650 cells include built-in protection circuitry that prevents deep discharge and short circuits, which helps keep your cells healthier in storage. Pair protected UltraFire batteries with a flashlight that includes a lockout and low-standby design, and you’ll massively reduce the chance of finding a dead light in an emergency.
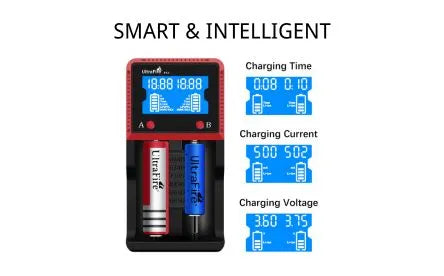
(See UltraFire 18650 3000mAh protected batteries.)
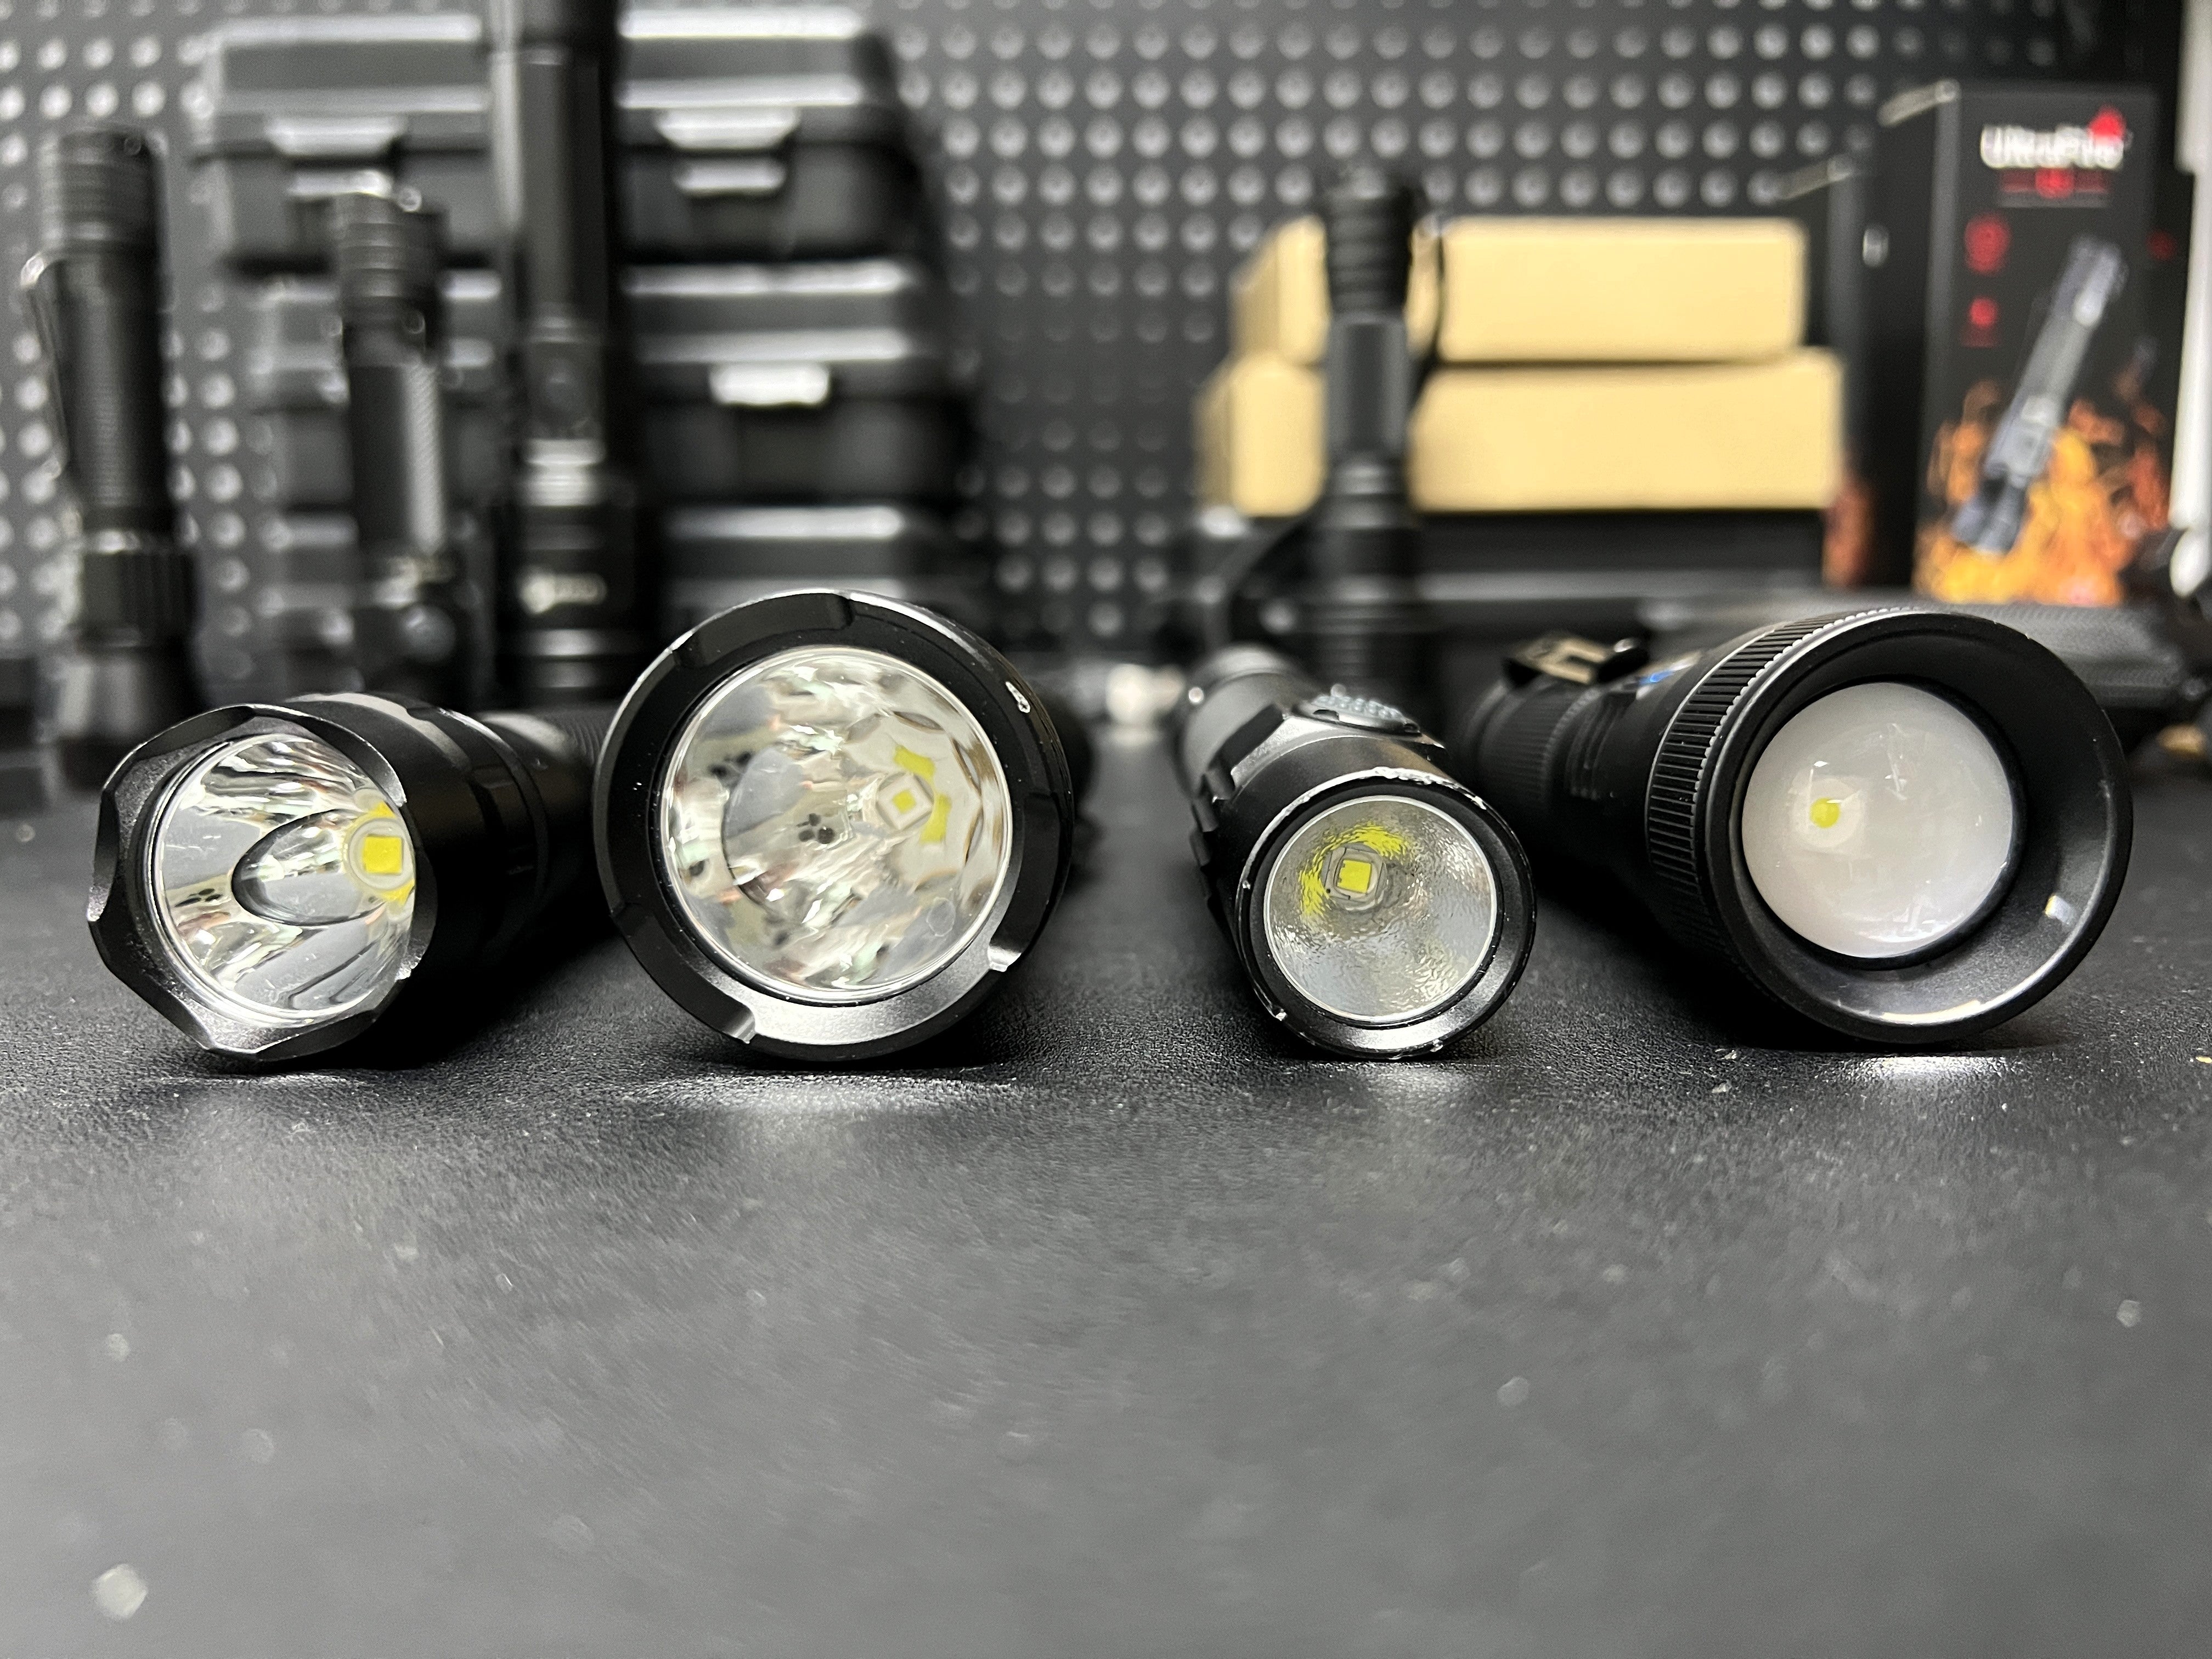
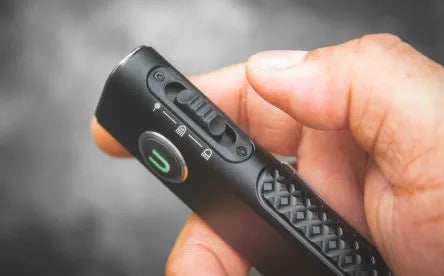
2) Adjustable Output — From Moonlight to Full Blast
Why it matters:
You don’t want full stadium-beam for every situation. For close-up tasks — finding meds, checking a fuse box, reading a map — you want very low, clean light that preserves battery. For signaling or checking the yard, you want high output. The ability to dial between those modes is essential.
What to look for:
-
True low (moonlight) mode under 1–5 lumens for long-term visibility and minimal battery use.
-
Multiple, easy-to-access modes and memory off/memory on options depending on preference.
-
Thermal management that throttles gracefully so the light doesn’t die quickly at turbo.
Practical tip: Train your household to use the low mode first for routine checks and the high mode only for urgent needs. Using low mode when possible saves serious runtime.
How UltraFire helps:
UltraFire flashlights commonly offer wide mode ranges — from very low moonlight to full turbo — plus reliable thermal step-downs and memory features that make it simple to control power use and preserve battery life.
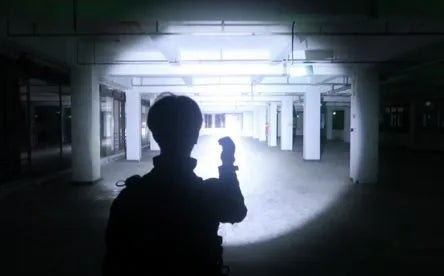
3) Real Emergency Functionality — SOS & Survival Features
Why it matters:
In an emergency, a flashlight can be more than a beam — it can be a signal, a way to start a fire, or a tool to make your situation safer.
What to look for:
-
Dedicated SOS / strobe mode that’s easy to access.
-
Survival features for extreme kits (e.g., built-in striker, whistle, or ignition aid) — nice to have for disaster packs.
-
Simple, reliable activation so you don’t fumble when you’re panicked.
Practical tip: Label the SOS mode clearly and show the family how to access it — in a stressful situation, simple = lifesaving.
How UltraFire helps:
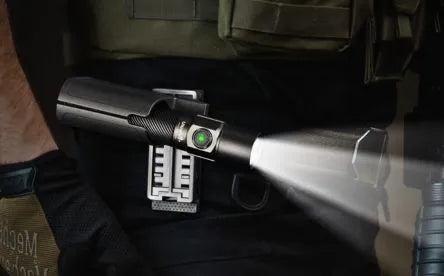
For survival-minded kits, check out the UltraFire Z10 Survival Flashlight — it bundles emergency-focused features (including ignition/survival assist tools) with dependable illumination. That kind of multi-tool capability makes the Z10 a smart pick for a grab-and-go home kit.
(See UltraFire Z10 Survival Flashlight.)
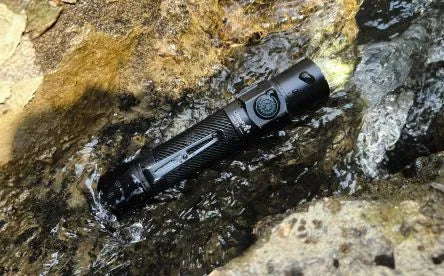
4) Built Tough — Water, Dust, and Impact Resistance (IP Ratings)
Why it matters:
Emergencies are messy. Rain, dust, and being dropped are all likely. If your flashlight can’t survive real conditions, it won’t be useful when it matters most.
What to look for:
-
Dust protection: look for IP6X (the “6” means dust-tight).
-
Water protection: at minimum IPX6 (powerful water jets) for general weather resistance; for flood-prone areas or submersion risk, aim for IPX7 (immersion to 1m) or IP68 (specified deeper/longer immersion).
-
Impact resistance: sturdy housing (aircraft-grade aluminum is common) and secure buttons/ports.
Practical tip: If your kit is in a crawlspace or a basement prone to flooding, go for IPX7/IP68. For general storm prep, IPX6 + dust protection is usually fine.
How UltraFire helps:
UltraFire designs many of its flashlights with rugged housings and high IP ratings, so you can expect real-world durability — rain, drops, and dirt won’t take them out of service when you need them.
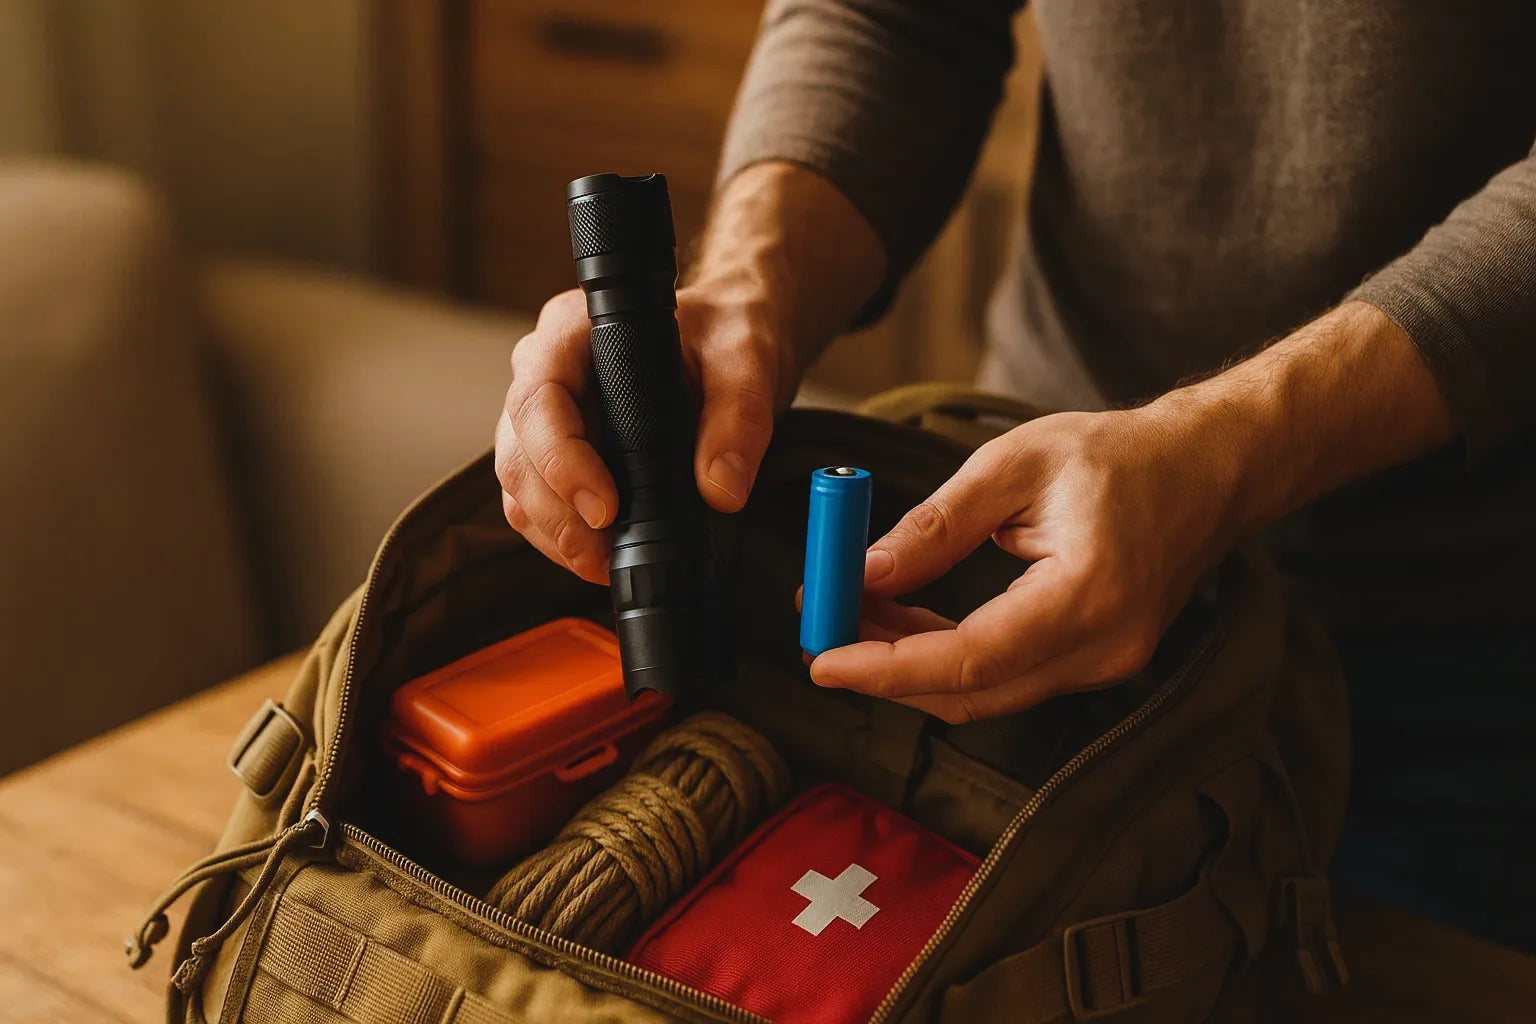
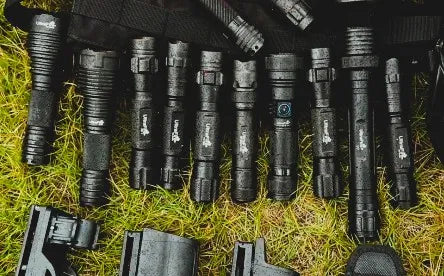
Quick checklist: What to pack in your Home / Emergency flashlight kit
-
One dependable UltraFire flashlight (with lockout and low mode).
-
One protected UltraFire 18650 3000mAh battery (or charged built-in battery).
-
A USB-C charging cable and a small power bank for off-grid topping up.
-
Waterproof pouch or dedicated spot in the kit, labeled and easy to grab.
-
A basic instruction card: how to lock/unlock, access SOS, and when to use low vs. high.
Short FAQ (real questions people ask)
Q: Can I leave the battery in the flashlight while storing it?
A: Yes, if the battery is protected and the flashlight has a lockout or very low standby current. If you're unsure, store the battery at ~50% or remove it for long-term storage.
Q: How often should I check my emergency light?
A: Quick check every 3 months — power on, confirm low/high function, and top up if needed.
Q: Do protected batteries eliminate all storage loss?
A: No chemistry can stop chemical self-discharge entirely, but protected batteries prevent damaging over-discharge and reduce the chance that your light will be unusable after sitting in storage.
Final word — prep smart, not panic-ready
A thoughtful emergency flashlight is about lasting readiness, not just raw lumens. Prioritize protected batteries, adjustable output, an SOS/survival feature, and real IP/impact ratings — and you’ll be set for everything from brief blackouts to longer evacuations.
If you want a practical next step, look into the UltraFire 18650 3000mAh protected batteries for longer, safer storage life and the UltraFire Z10 Survival Flashlight if you want SOS plus survival tools built in.
UltraFire 18650 (protected): https://www.ultrafire.com/products/18650-3000mah-protected-batteries
UltraFire Z10 Survival Flashlight: https://www.ultrafire.com/products/z10-survival-flashlight
UltraFire Home & Emergency Flashlights: https://www.ultrafire.com/collections/home-emergency