What You’ll Need:
-
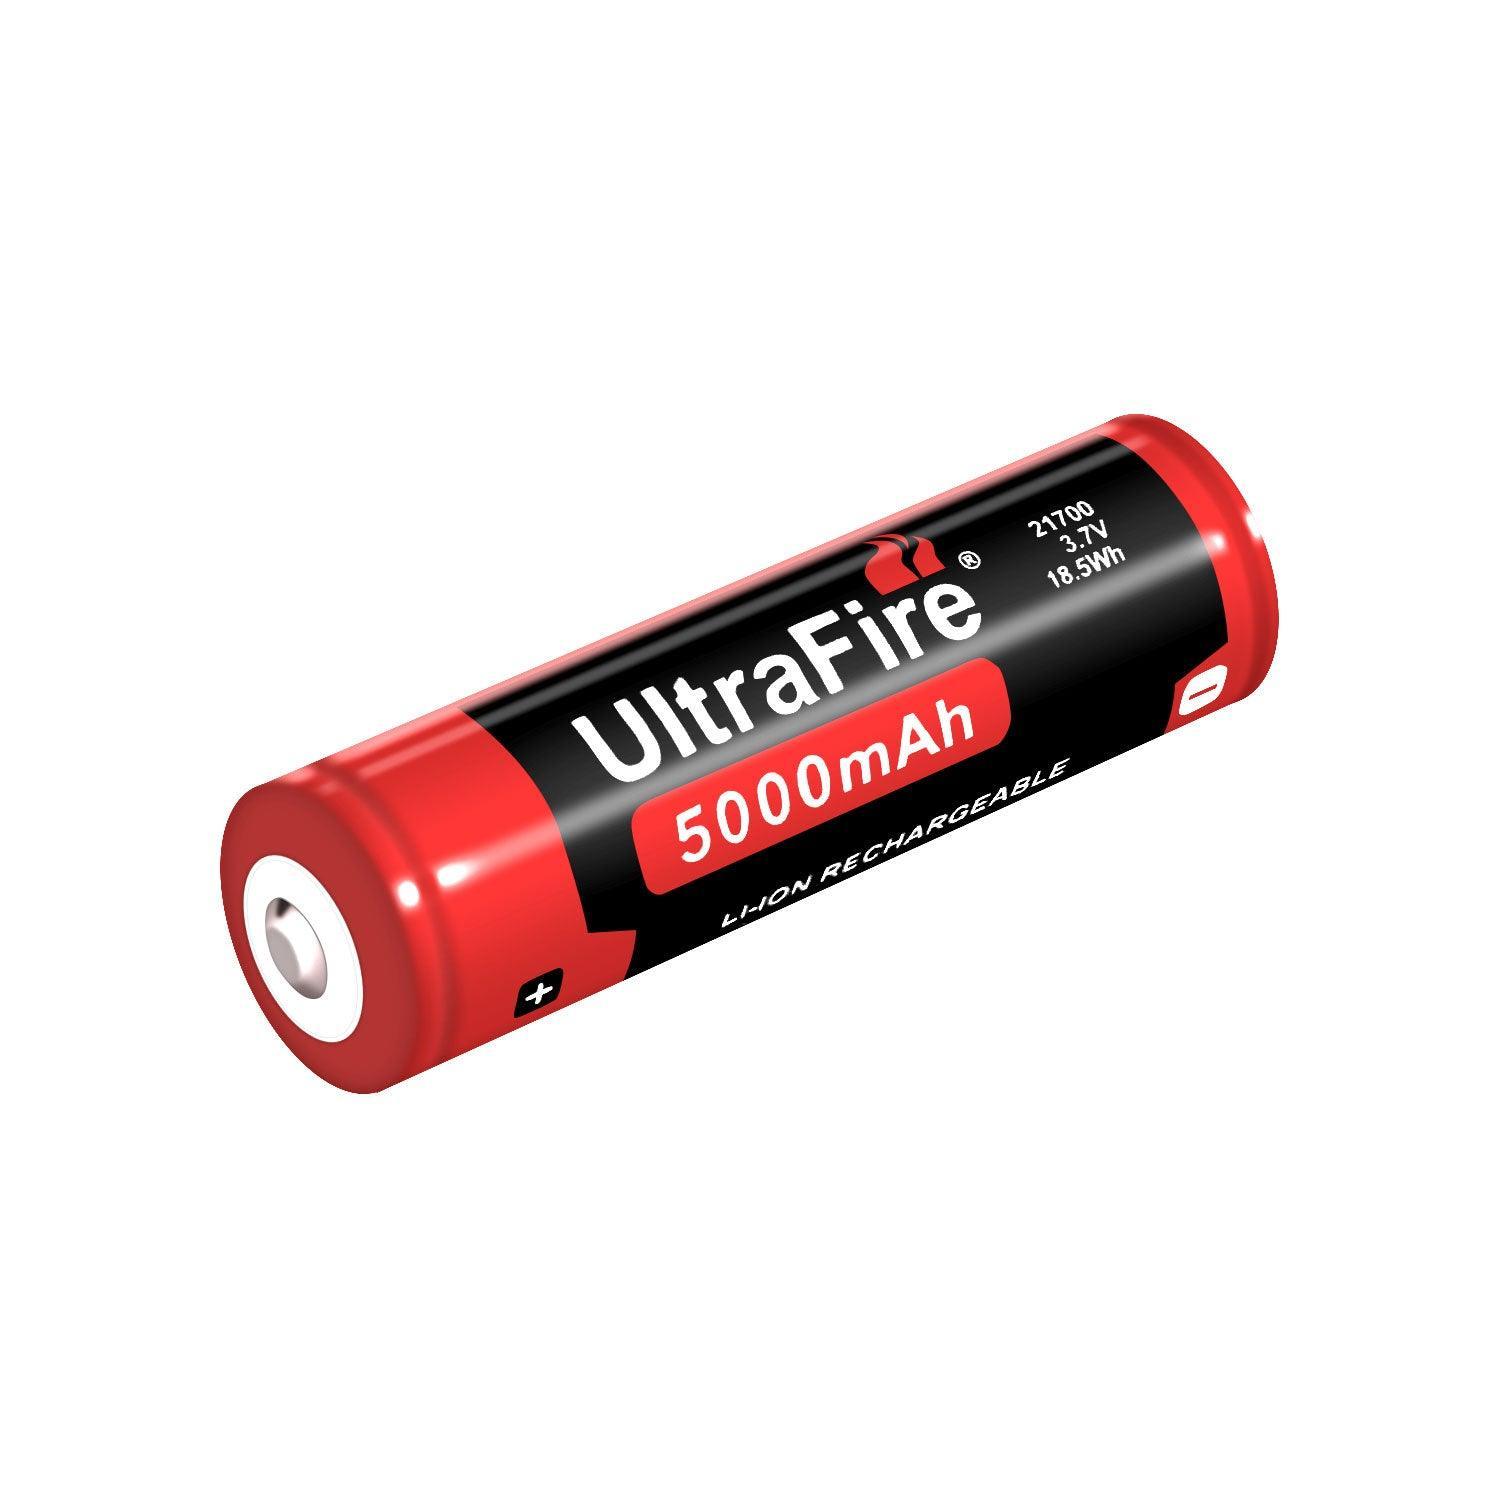
UltraFire 18650 Batteries: These high-quality lithium-ion cells offer a range of power and capacity options, including the 3.7V 2600mAh and 3000mAh versions. For most DIY projects, the 2600mAh version will suffice.
-
Battery Holders: These are essential for safely connecting and securing your cells. Battery holders come in various sizes, typically holding 2, 3, 4, or more cells.
-
BMS (Battery Management System): A BMS ensures your battery pack is safely charged and discharged, protecting against overcharging, overheating, and deep discharge. It's a crucial step to ensure safety and longevity.
-
Wires and Soldering Equipment: You'll need a soldering iron, soldering wire, and heat shrink tubing for connecting the cells and ensuring they’re securely and safely joined.
-
Spot Welder (Optional): For a more professional finish, a spot welder can be used to join the battery terminals, which is safer and more reliable than soldering.
-
Protective Gear: Always wear safety glasses and gloves when handling lithium-ion batteries to avoid accidents.
Step-by-Step Process:
1. Safety First
Before you start, it's crucial to understand that working with lithium-ion batteries, including UltraFire 18650 cells, involves certain risks. Always work in a well-ventilated area and be cautious of short circuits. Never overcharge or discharge batteries beyond their safe limits.
2. Plan Your Battery Pack Layout
Decide on the voltage and capacity you need for your project. For instance:
-
3S Configuration (3 series): This means three cells connected in series, providing a nominal voltage of 11.1V (3.7V x 3) and higher capacity, depending on your cells.
-
2P Configuration (2 parallel): This means two cells connected in parallel, which increases capacity but keeps the voltage the same (3.7V).
Common configurations are 3S1P (three cells in series, one parallel) or 4S2P (four cells in series, two in parallel). Determine what fits best for your application.
3. Prepare the Batteries
If you’re using UltraFire 18650 batteries, make sure to check the voltage and state of charge. All cells in a pack should be at the same voltage level to ensure balanced performance.
4. Connect the Batteries
Once you’ve chosen your configuration, connect the batteries. Here’s how:
-
Series Connection: Connect the positive terminal of one battery to the negative terminal of the next. This will increase the voltage of the pack.
-
Parallel Connection: Connect the positive terminals together and the negative terminals together. This will increase the capacity of the pack.
Use a spot welder for the most secure and reliable connection, as it minimizes the risk of overheating. If you're using a soldering iron, be very careful to apply heat only for a few seconds to avoid damaging the cells.
5. Install the Battery Management System (BMS)
The BMS protects your battery pack from overcharging, deep discharge, and overheating. Connect the BMS according to the manufacturer's instructions, making sure all connections are tight and secure. For a 3S configuration, you'll need a 3S BMS.
The BMS typically has:
-
A positive lead that connects to the last battery in your series.
-
A negative lead that connects to the first battery.
-
Balance leads that ensure each cell is charged evenly.
6. Test the Pack
Before fully assembling your pack, test it to ensure all connections are working properly and that the voltage is correct. You can use a multimeter to check the voltage across the pack and each individual cell.
7. Protect and Insulate the Pack
Once the pack is assembled and tested, use heat shrink tubing or electrical tape to insulate the pack. This protects the battery cells and wiring from accidental shorts and damage.
8. Charging the Battery Pack
Use an appropriate charger designed for your battery configuration. UltraFire 18650 cells should be charged using a Li-ion charger with the correct voltage for your pack (for example, 12.6V for a 3S pack). Never leave the pack unattended while charging.
9. Final Testing and Use
Once your battery pack is fully assembled, you can begin using it in your flashlight, power bank, or whatever project you’re working on. Remember to monitor the pack during initial use to ensure that it operates safely and doesn’t overheat.
Key Considerations When Making a Battery Pack:
-
Balancing the Cells: Always ensure that the cells are at similar voltage levels when you connect them. This prevents imbalance and potential overheating.
-
Overcharging & Overdischarging: Never overcharge or discharge the battery pack beyond its rated voltage (typically 4.2V per cell for full charge and 3.0V for safe discharge).
-
Protection Circuit: Always use a protection circuit, such as a BMS, to ensure the safety and longevity of your battery pack.
-
Ventilation: Lithium-ion batteries, even high-quality ones like UltraFire, can generate heat, so ensure proper ventilation for your battery pack during use.
Conclusion
Building your own 18650 battery pack using UltraFire batteries is a rewarding project that can power a range of devices. With careful planning, safety measures, and proper tools, you can create a custom battery pack that meets your needs. Always prioritize safety and double-check all connections and protections to ensure a long-lasting and efficient battery pack.


